Campaigns
Campaigns is an engagement messaging application that allows you to create email messages to be delivered to people based on their behaviors and interactions with your product or website.
Each Campaign in Kissmetrics contains two things:
-
A collection of Messages: You can have an unlimited number of Messages (emails) in each campaign.
-
A Goal: With each Campaign, you can set a behavioral goal that you hope your Message program to achieve. As you ship the messages in your Campaign, Kissmetrics will track them against your goal and calculate a conversion rate between your messages and your goal.
How To Create a Campaign in Kissmetrics
To create a Campaign, simply click on the ‘Create Campaign’ button on the All Campaigns page in Kissmetrics. Once you create your Campaign, you will have the option of creating Messages and/or Goals for your Campaign.
Setting Campaign Goals
Campaign Goals allow you to measure the effectiveness of your Messages against a desired result or behavior. For example, a series of onboarding emails may have a goal of getting new users to login; or completing their profile; or creating an initial project. By setting a Campaign Goal, you can measure each message in a Campaign against that goal.
To set a Campaign Goal, simply click on the ‘ad campaign goal’ link next to the name of your Campaign on the Campaign page.

From there, your can set the conditions for your goal.
Calculating Goal Conversion
When you set a Goal, Kissmetrics calculates the conversion rate between a customer receiving that message and taking the action specified in your Goal.
For example, if you have 1,000 customers who received one of your emails and 100 met your goal of “uploading file” after receiving the email, then that Message and your Campaign will have a goal conversion rate of 10%.
This goal conversion rate is calculated against your entire Campaign as well as against each individual message. This allows you to understand how your Campaign is performing as well as determining which message is performing the best.
How to Create a Message in Campaigns
As soon as you create a Campaign, you can start creating messages for that Campaign. Simply click the ‘Add Message’ button and you will enter the message creation flow.
Choosing Your Message Type - Automated Or Manual
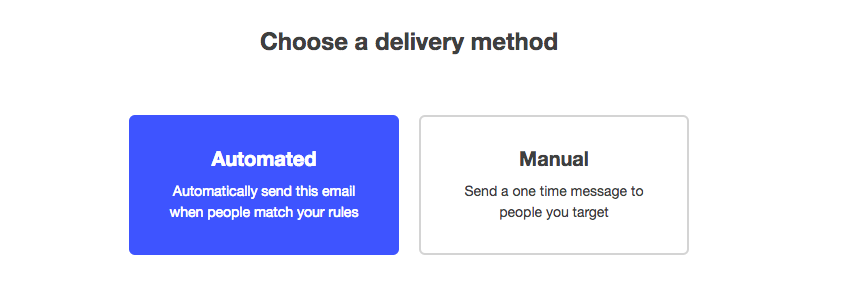
The first thing you will do when creating an email message is selecting the type of email you want to send. There are two types of message you can create:
Automated Messages
Automated messages will be sent automatically when customers meet the rules you set for that email. For example, if you set a rule for “People who sign-up Today”, that email will be delivered as soon as anyone triggers the ‘sign_up’ event.
Automated messages are set up so that they will only be delivered once per customer - regardless of how many times he or she may meet the rule set.
For example, if you set up an automated email to be sent to “People who have signed-up more than 30 days ago and have uploaded an invoice more than 3 times”, a person will receive that email as soon as they meet this rule set - but never again. This is because, very often, your customers will meet behavioral rule sets an infinite number of times. In the above example a person would meet this rule an infinite number of times after her 30th day of signing up and after uploading her 3rd invoice. It is the intention of most behavioral emails to delivered only the first time a customer meets a rule set - so this is why we carry this logic with automated emails.
Message Latency
Do realize that we do have a 15-30 minute lag between the time any action is recorded by one of your users and the time that it is processed in Kissmetrics system. This means that there will be a slight lag between an actual action and someone meeting the conditions of one of your automated emails. Your users will receive these automated email with this processing time frame.
Sending to people only in the future
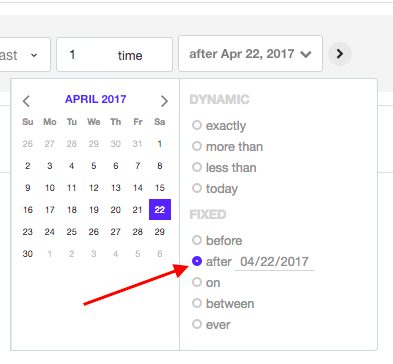
As soon as you set an automated email live, it will be delivered to anyone who currently meets the rule set. If you would prefer to NOT send that email to any existing users, you can create a new rule using the AFTER function in the date selector. For example, you can set a rule that says, only send to “People who sign-up AFTER today’s date” and your email will only be sent to new users that meet the rule set in the future.
Manual Messages
Manual Messages are messages that are delivered to a group of people all at once - like an announcement email or newsletter, for example. You can send Manual Messages immediately or you can schedule them to go out later. Either way, these emails will all be delivered at the same time.
Setting Your Rule Set
Setting up the logic for who should receive, either your automated or manual emails, is essentially the same as setting up any behavioral logic in Kissmetrics - as covered here.
Adding a Delay to an Automated email
You can add a delay to any of your Automated messages by clicking on the “Add a Delay” link below your rule set. When you add a delay to your message, you will essentially schedule the delivery of your automated message X hours after a particular rule set is met. Right before sending out that email though, Kissmetrics will double-check that the Person still meets those original conditions.
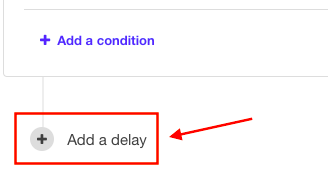
For example, if you wanted to send an email to a customer after the first time they use a specific feature, you may not want this email to be delivered immediately after they use that feature. So, you could set a delay so that they received that email 3 hours after triggering that particular feature.
Using The Email Editor
With Kissmetrics Campaigns, you have a couple of options for creating an email - writing or pasting in an HTML template or using our WYSIWYG email editor.
Pasting in HTML templates
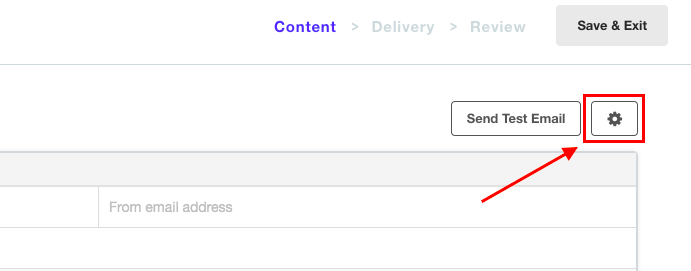
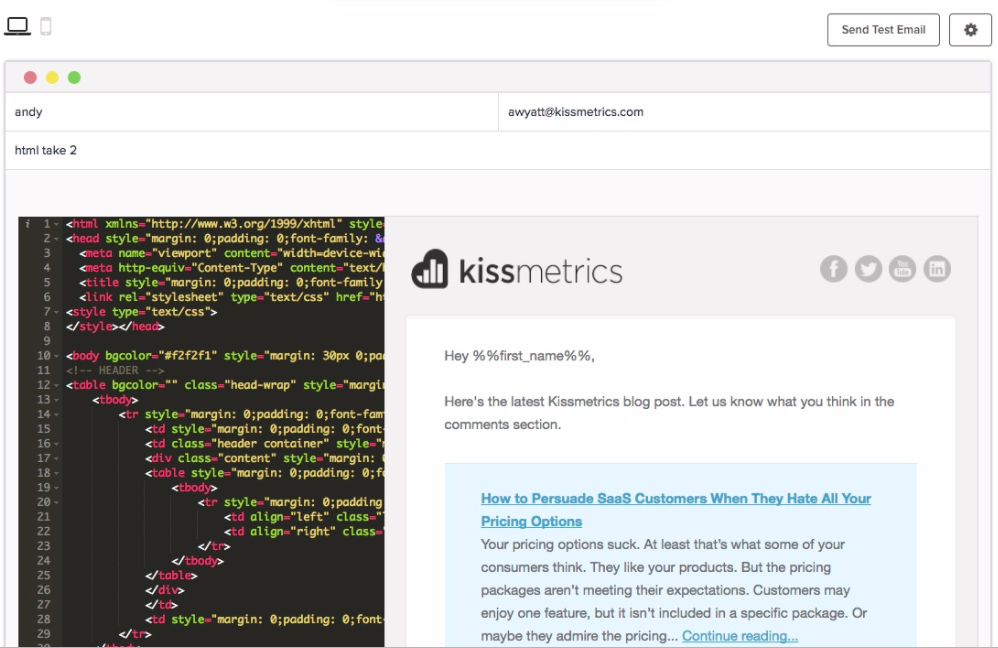
If you have email templates already coded using HTML, you can choose to drop that HTML code into our editor by selecting the HTML editor from the settings menu.
From here, you can simply start coding your email template in the left-side window or you can drop in HTML code. The preview of your email template will appear in the right-side window.
Using the WYSIWYG editor
Creating an email using our WYSIWYG editor should be very self-explanatory. This editor gives you incredible flexibility for creating well designed, compelling emails.
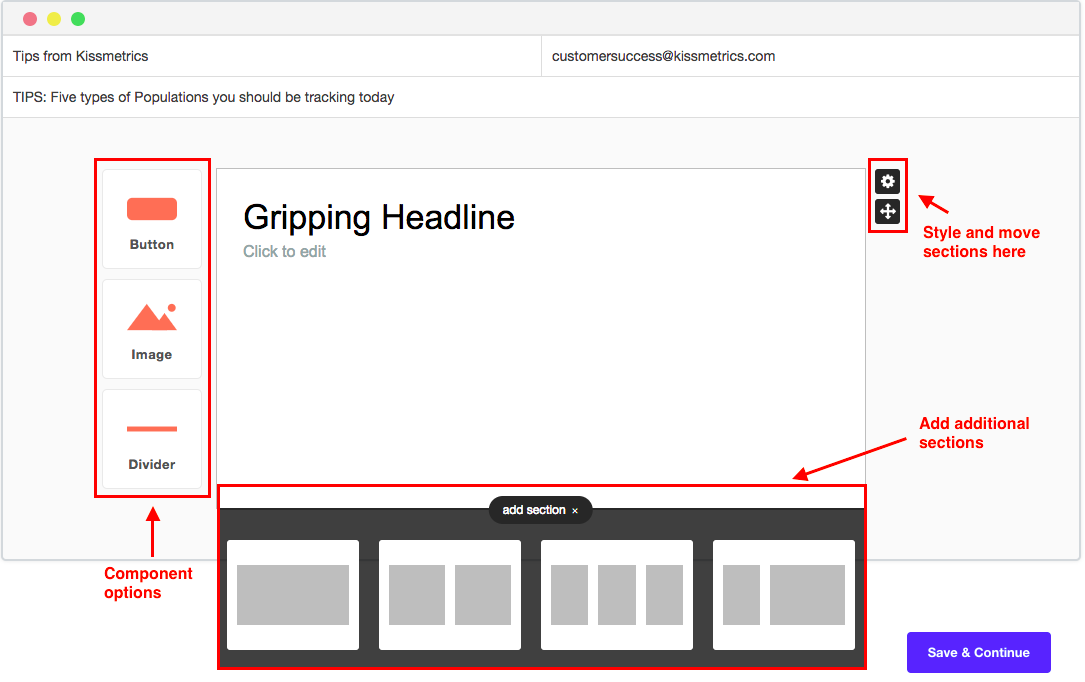
There are two major elements of this editor that you should know about to use it effectively - Sections and Components.
Email sections
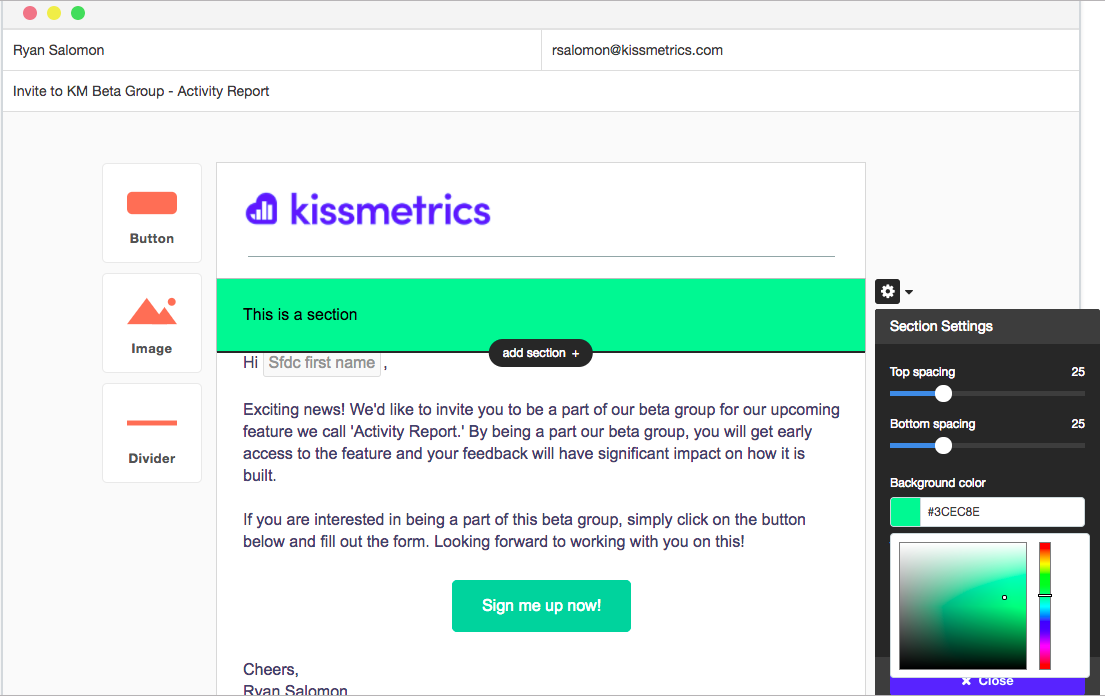
You can add multiple “sections” to any email that you create. Adding sections allows you to:
- Use different formatting options for your content - single column, double column, triple column, etc.
- Style each section independently to achieve greater design flexibility
To add a new section to your email, simply click the ‘add section’ button and select which section format you would like to use. These sections are preformatted to give you more styling options in your email.
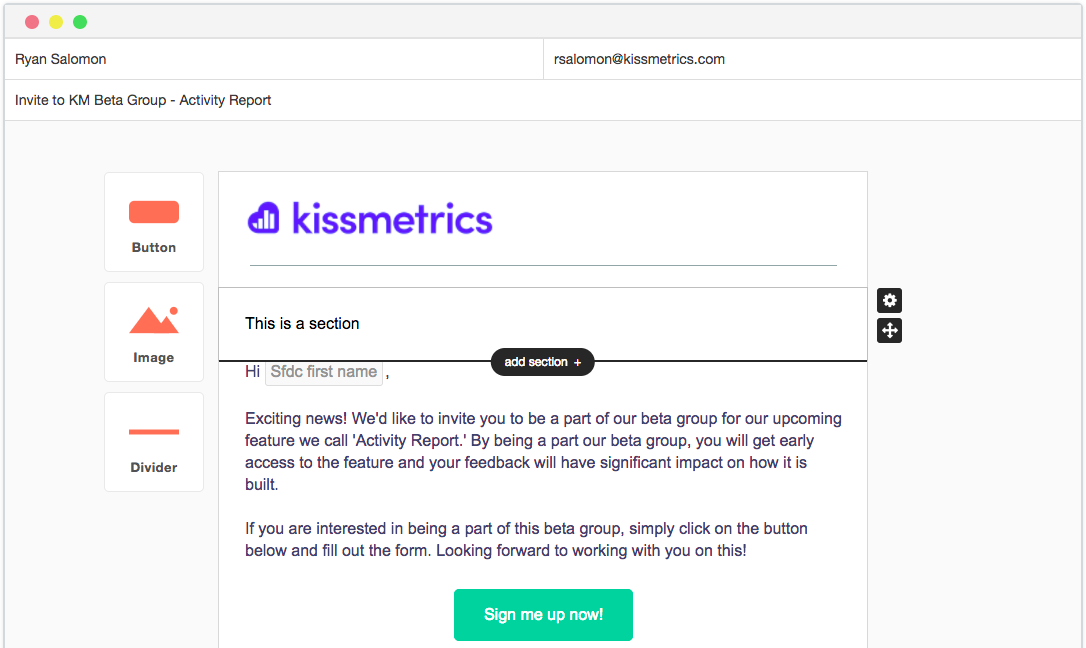
You can also apply styles (like color, spacing and more) to a specific section - again, giving you great flexibility for styling your emails.
Email components
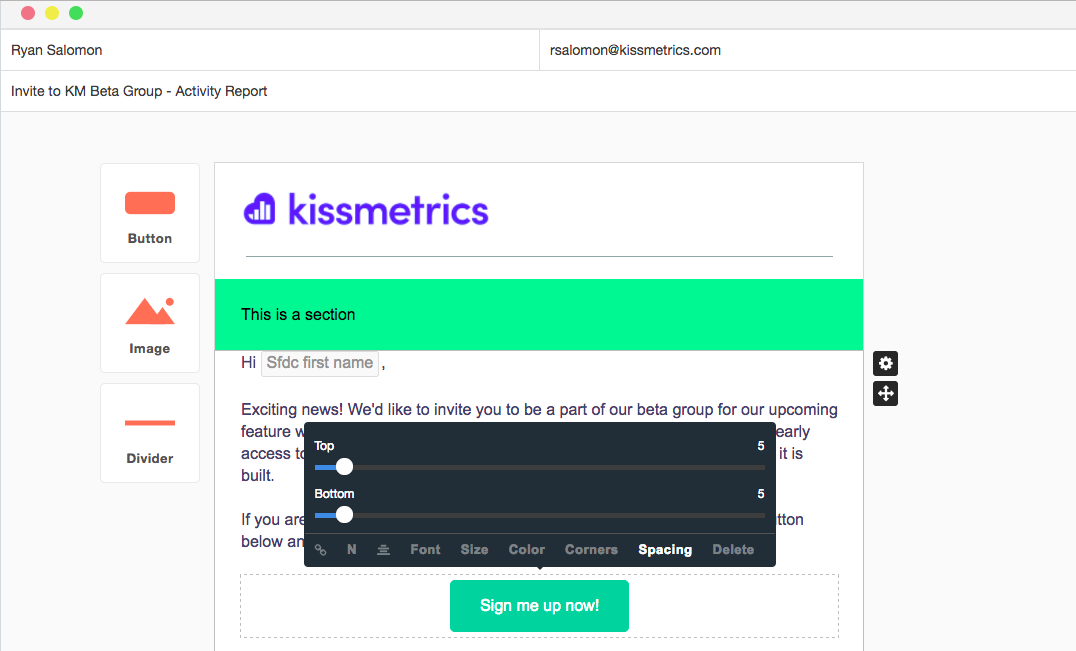
Along with sections, you can also add different component to your email - including images, buttons and break lines. Each component can be styled individually. To use a component, simply drag-and-drop it into the body of your email and style it according to your preference.
Personalize emails with properties (merge tags)
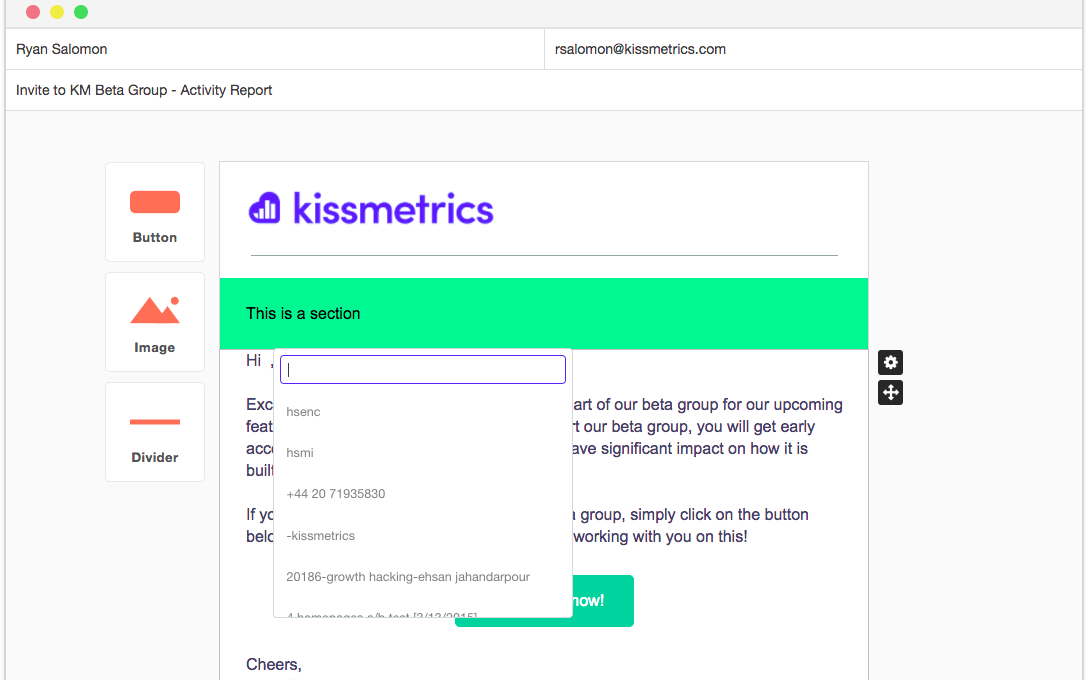
You can insert custom/personalized data into any of your emails by typing ‘{‘ and selecting any property (such as first_name). When the email is delivered, each recipient will receive personalized property information for that merge tag.
By clicking on the tag after it is inserted, you can set a default value for your merge tag that will appear in your email if a user doesn’t have a value for the selected property.
Sending Test Emails
You can send test emails from the editor by clicking on the ‘Send Test Email’ button above the email template. From there, you can select an email address to which you will send a test.
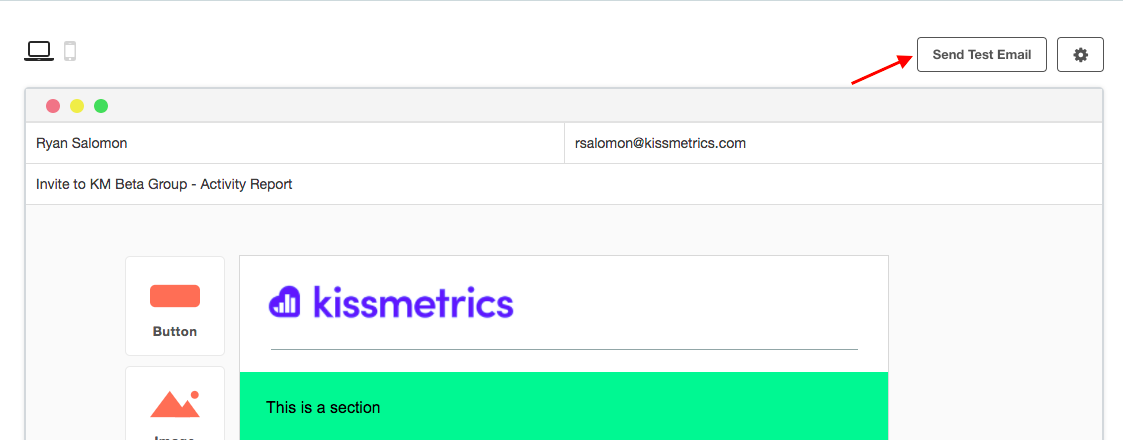
You can also choose to include sample data for any merge tag in your email by selecting a specific email address in the test email box. When you do this, property values for that specific person will be inserted into the merge tags in in your email - and you will be able to see those values in your test email.
Email statuses
You will notice on the main page for any Campaign, that an email can have various statuses. These include:
Status | Description |
|---|---|
Draft | This is a message that is still being created, and has never been set live, scheduled or sent. This message can be edited. |
Live | This is an automated message that is being sent out as new people match the rules. This message can be edited after pausing. |
Paused | This is an automated message that has been set live previously, but is not currently being sent. This message can be edited. |
Scheduled | This is a manual message that is waiting for a future date and time to be sent. This message can be edited after pausing, which will cancel the scheduling. |
Sent | This is a manual message or a scheduled manual message that has already been delivered to the matching people. This message can not be edited. |
Archived | This is a message that is no longer active, and has been removed from reporting.This message can be un-archived and edited as long as it was never ‘Sent’. |
Reporting On Your Campaigns and Messages
You can report on the success of any of your Campaigns or Messages. With Kissmetrics’ Campaigns, you are able to, not only report on the activity around a Message, but also how effective it is at driving specific behavior with your product (we call these Goals).
Campaign-level Reporting
Campaign-level reporting is found on the main page of each campaign.
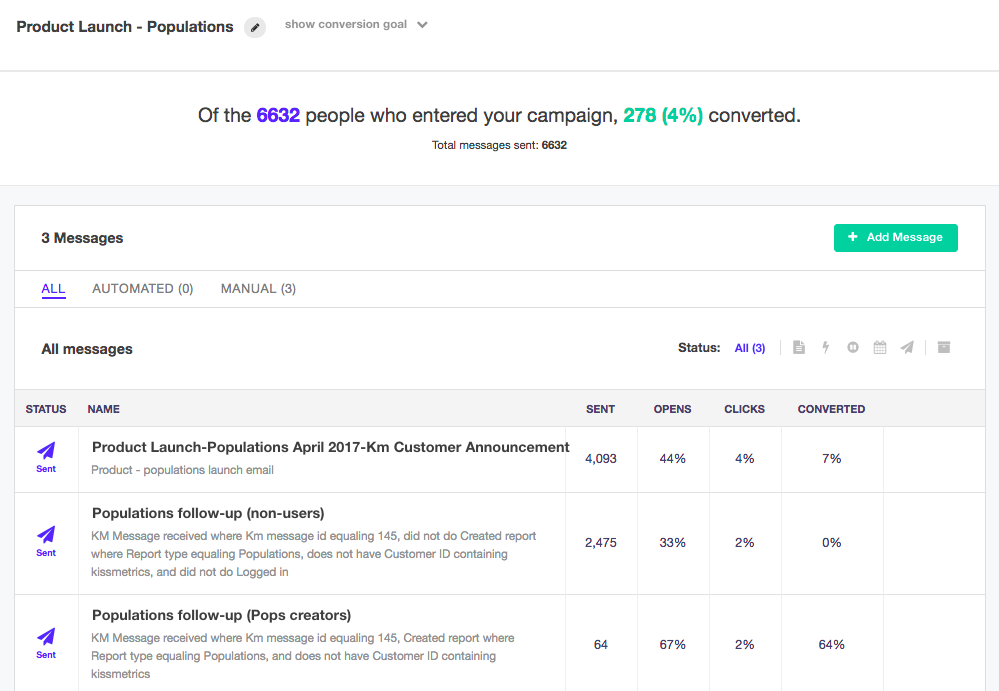
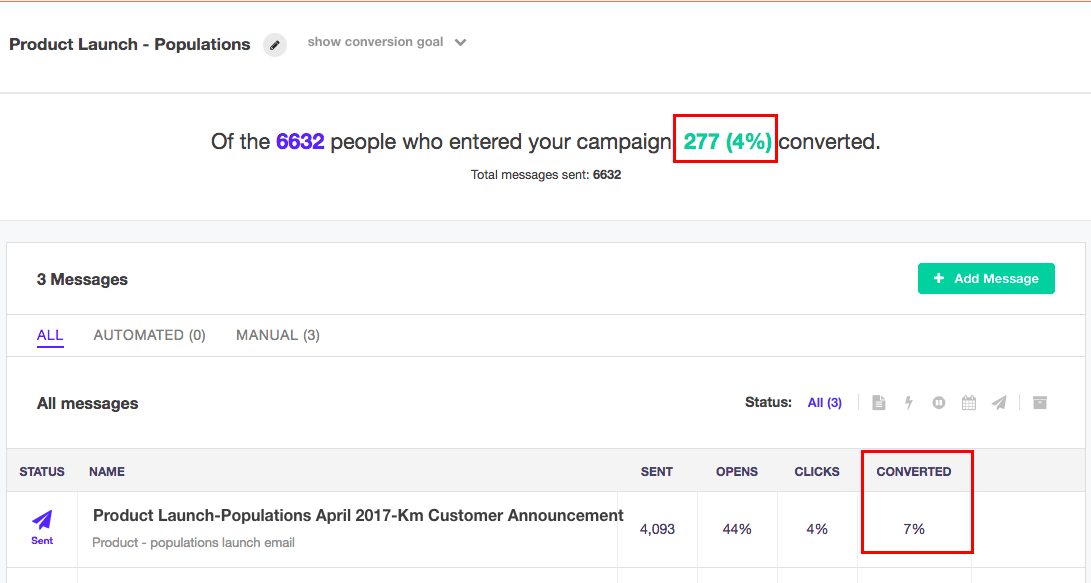
In the sentence at the top of this page, you can see how many people received an email from this Campaign and how many converted against your Goal. (ie - how many people actually completed the action you specified when setting the Goal).
In the table below, you can see Sent, Open, Clicks, and - most importantly - Conversion for each Message in the Campaign. This is very important as it allows you to see which Message in the Campaign is most effective at driving conversions.
Message Level Reporting
Once you deliver or set an email live, you will be able to see more detailed statistics about that Message on the Message detail page. Simply click on a Message from the Campaign page to dive deeper.
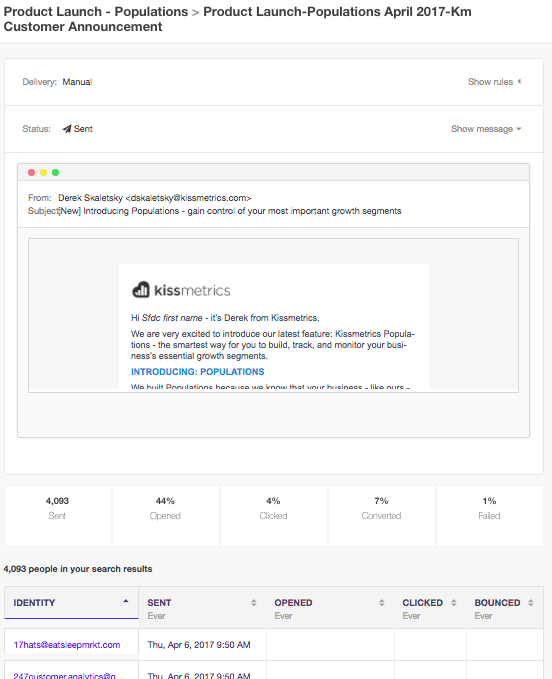
On this Message detail page, you can review the rules for the message, the actual content of the email along with the important stats about that message. You can see Sent, Opened, Clicked, Converted, and Unsubscribed emails.
You will also be able to see the actual people who recorded any of these events and view their specific profiles.
Updated 8 months ago
