One-Time JSON Upload
This guide explains how to import data from individual .json files.
1. Navigate to the Upload Area
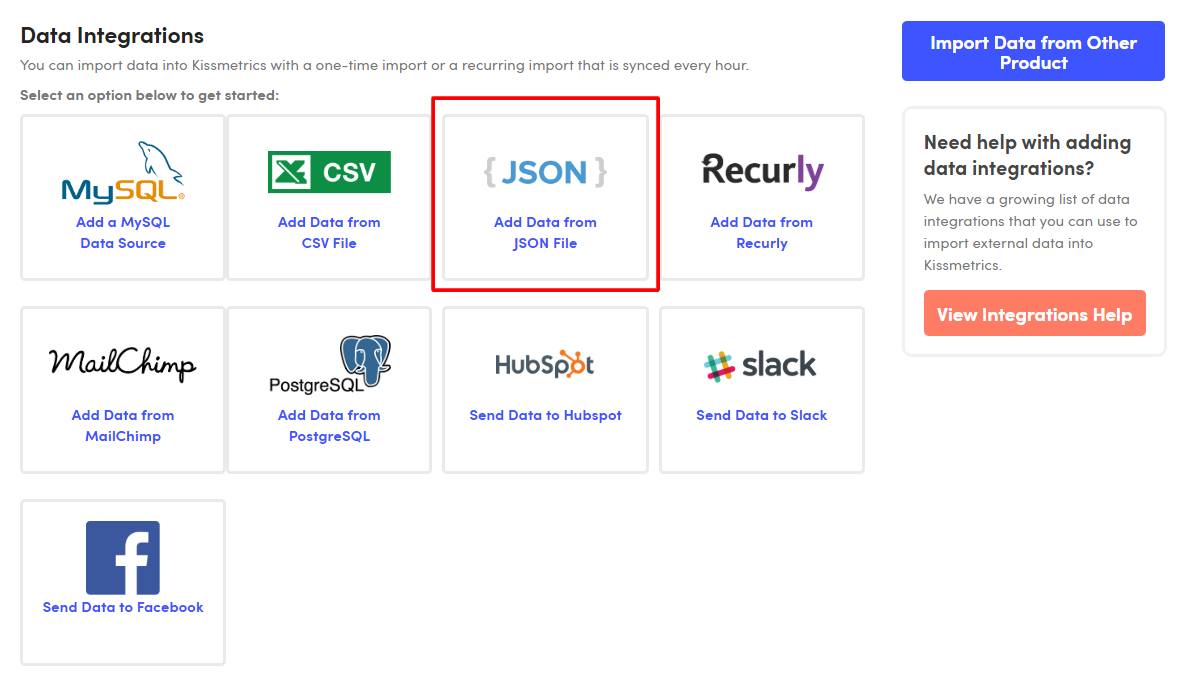
The JSON upload area is located under your site’s External Data Sources. You can reach it by doing the following:
- Go to Settings (at the top right corner of the screen)
- Navigate to Product Settings
- Click Data Integrations
- Click Add Data from JSON File

2. Select your JSON file
- Select “Upload JSON File” as the Import Option.
- Locate the file to upload on your computer.
JSON formatPlease refer to our json for details on how to format your JSON file.
3. Preview the results
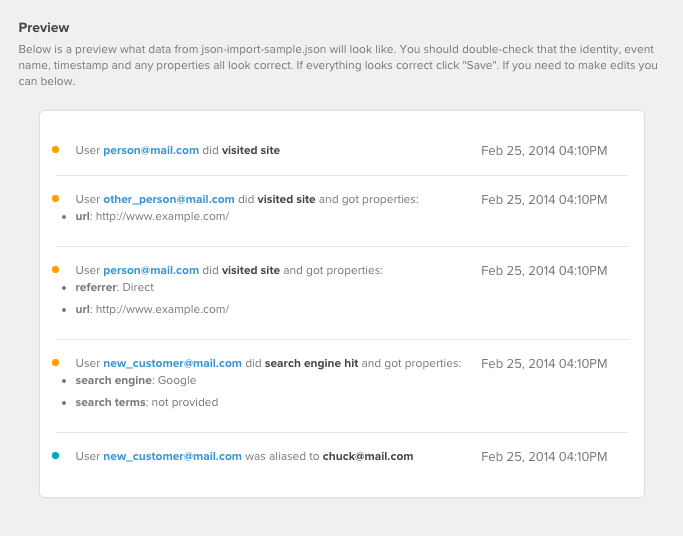
If your file is formatted correctly, we’ll show you a preview of the events and properties to be imported.

4. Complete the Upload
Once everything looks good, confirm the upload. Just as with any other data source that is bringing in events and properties, please wait 30 minutes for the data to become available in your reports.
5. Check the Status
Completed uploads will be archived, and you will be able to refer to when they were originally imported.
Data processingFor the purpose of housekeeping, you can delete completed entries.
Note that this does not delete the events that were brought in from the JSON file.
Updated 8 months ago
